
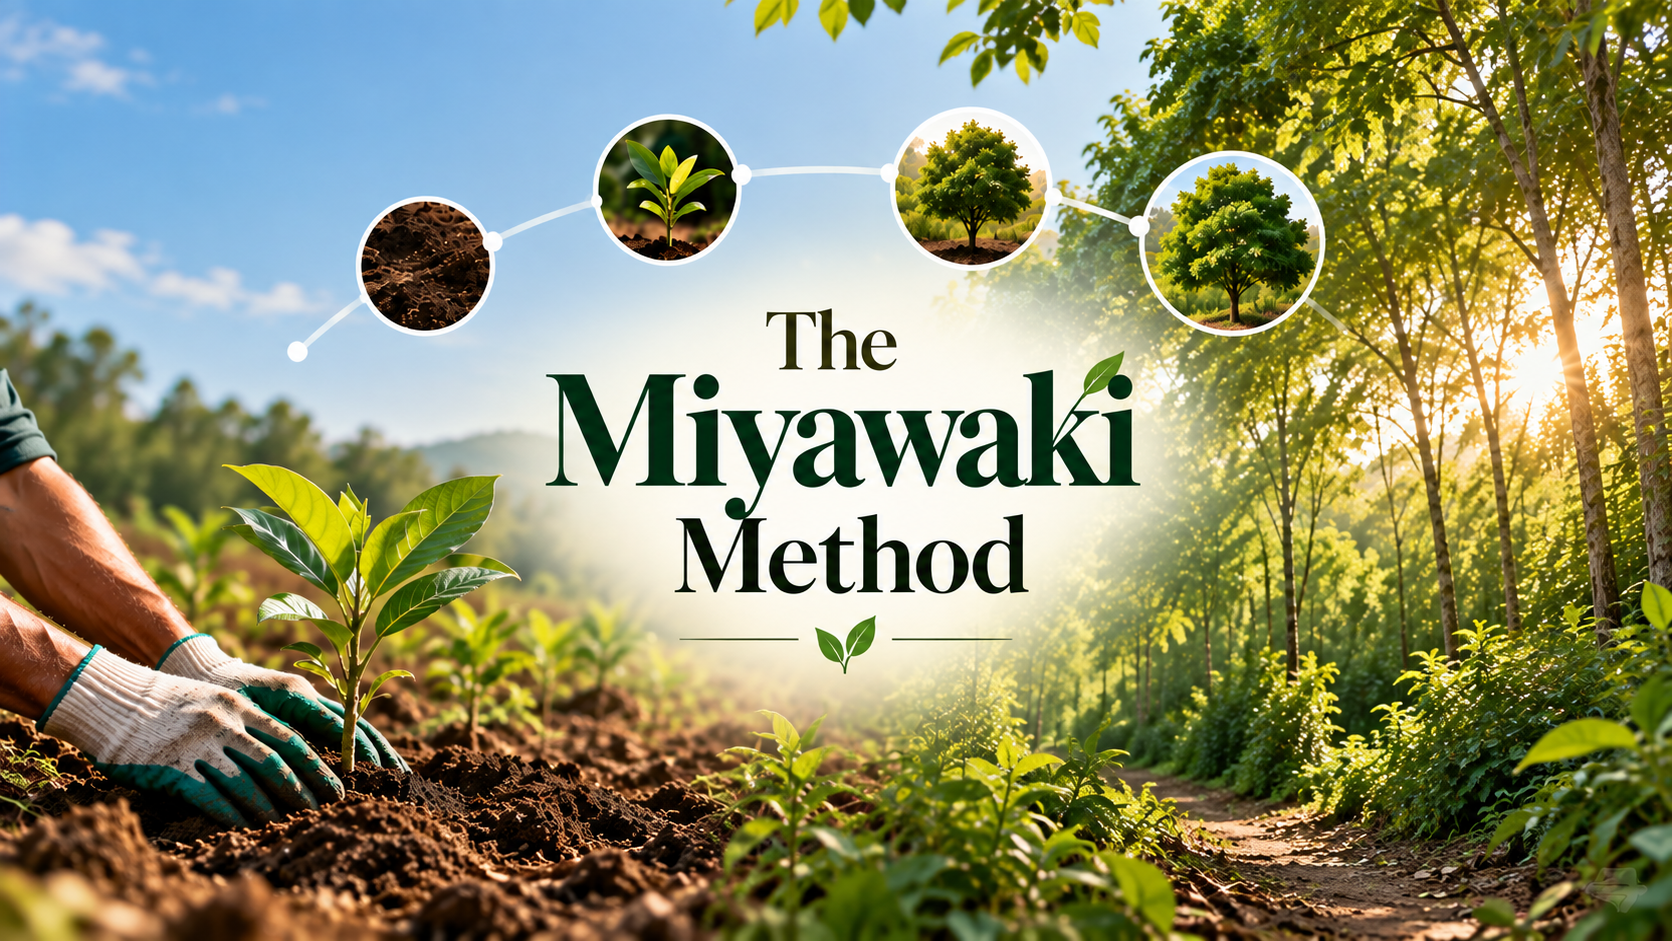
The Miyawaki Method in Action: How We Build a Forest, Step by Step
We've written before about what a Miyawaki forest is and where the method came from. This post is different. It's the part people usually skip: what the Miyawaki method actually looks like on the ground, step by step, from the first soil test to the day a forest stops needing us.
If you're new to the concept entirely, our Miyawaki forest guide covers the history and the science. Here, we're walking through the method itself.
Step One: Studying the Site Before Touching It
Nothing gets planted until the site is understood. This means checking the soil type, drainage, existing vegetation, how much sunlight the plot gets through the day, and whether the land is legally cleared for planting. A patch that looks empty and ready often has old debris, compacted earth, or drainage problems that only show up once you dig.
This is also where the Miyawaki methodology asks a specific question most plantation drives skip entirely: what would grow here naturally, if nothing had disturbed the land? That idea, called potential natural vegetation, is the starting point for everything that follows. It's not about picking attractive trees. It's about figuring out what this exact patch of ground would have grown on its own.
Step Two: Testing and Preparing the Soil
Soil testing comes next, and it decides almost everything else. Urban soil is rarely in good shape. Years of construction, foot traffic, or nutrient-poor fill dirt leave it compacted and low in organic matter. A soil test tells us what's missing before we try to fix it.
Preparation usually means loosening compacted layers, mixing in organic matter like compost, and sometimes adding materials that help with water retention or drainage, depending on what the test shows. This step is skipped constantly in one-day plantation events, and it's a major reason so many of those saplings don't make it past their first year. In our own work — including our ongoing project in Ahmedabad — this is the stage that takes the most time and gets the least credit, because nobody photographs someone testing pH levels.
Step Three: Choosing Native Species for Every Layer
Once the soil is ready, species selection starts — and this is where the Miyawaki method looks nothing like a normal plantation plan. Instead of one or two tree types, it uses four distinct layers, all planted together:
• Shrub layer — low, ground-hugging native species.
• Sub-tree layer — smaller native trees that fill the middle height.
• Tree layer — the main canopy-forming native species.
• Canopy layer — the tallest native trees that will eventually dominate the site.
Every species chosen for each layer has to actually belong in that region. A generic list of “good trees” doesn't work here. In our own plantation work, this means species like Neem, Gulmohar, Banyan, and Peepal for Gujarat conditions specifically — not because they're popular, but because they already know how to survive the local climate.
Step Four: Mapping the Layout and Spacing
This is the step that surprises people most. Traditional plantation spacing puts saplings roughly 2.4 metres apart. A proper Miyawaki forest design packs them far closer — often as little as 0.3 metres apart, or three to five saplings per square metre.
The density isn't a shortcut. It's the entire mechanism. Planted this close, saplings compete for sunlight and push upward instead of spreading sideways the way an isolated tree would. That competition is what drives the accelerated growth the method is known for. Mapping this out properly means plotting where every layer goes before a single sapling touches soil, so the density is intentional rather than random.
Step Five: Planting Day
With the site prepared and the layout mapped, planting itself follows a fairly consistent sequence:
- Pits are marked at their planned spacing, layer by layer.
- Each pit is dug to match the specific sapling going into it.
- Compost or organic matter is mixed into the pit itself.
- The sapling is placed carefully, without disturbing its root ball.
- Soil is backfilled and firmed to remove air pockets around the roots.
- A deep first watering follows immediately.
- Mulch goes down around the base to hold moisture and block weeds.
Volunteers usually work in small teams, each covering a section, with someone experienced checking spacing and depth as they go. It's the most visible and least technical part of the whole process — which is exactly why it gets all the attention while the earlier steps get skipped.
Step Six: The Maintenance Window
A Miyawaki forest isn't finished on planting day. For roughly the first two to three years, it needs active care: regular watering, especially through dry spells, along with weeding and replacing any saplings that don't survive.
This window is non-negotiable. Skip it, and even a perfectly planted, well-spaced site can lose a large share of its saplings before the roots are established enough to compete on their own. Done properly, this maintenance period is what gets survival rates above 90 percent instead of the far lower numbers typical of unmaintained plantation drives.
Step Seven: Letting the Forest Take Over
After two to three years of consistent care, a properly built Miyawaki forest reaches a point where it no longer needs daily intervention. The dense canopy shades out most weeds on its own, root systems are established enough to find water without help, and the layered structure starts functioning the way a natural forest does.
This is usually where the growth numbers people quote — ten times faster, thirty times denser — become visible. Not on planting day, but two or three years later, once the maintenance phase has done its work and the forest is finally standing on its own.
Where the Method Can Go Wrong
It's worth being direct about this: every step above matters, and skipping any one of them is where projects fall short of the results the method is known for. A site with no soil testing, species chosen from a generic list instead of what's actually native, spacing that's too loose, or maintenance that stops after a few months — none of these produce a real Miyawaki forest. They produce a densely planted patch of trees that happens to share a name with one.
That's not a criticism of the method. It's a description of how much the execution matters. The Miyawaki method is a process, not a single planting technique, and the results depend on following the whole sequence, not just the parts that make for a good photo.
How This Looks in an Actual Project
Our current work in Ahmedabad, at Ashok Chakra Van, follows every step above. Soil testing and preparation first, native species mapped by layer, dense planned spacing, a proper planting phase, and three years of tracked maintenance behind every single tree — not just the site as a whole. Each tree is individually geo-tagged, so the method isn't something we describe in the abstract. It's something you can see applied to a specific tree, at a specific location, if you adopt one.
Frequently Asked Questions
What are the main steps of the Miyawaki method?
The core steps are site assessment, soil testing and preparation, native species selection across four layers, dense spacing and layout mapping, planting, and two to three years of active maintenance.
How is a Miyawaki forest design different from normal landscaping?
A Miyawaki forest design uses only native species arranged in four layers — shrub, sub-tree, tree, and canopy — planted densely to compete for sunlight, unlike landscaping, which typically spaces ornamental plants for visual appeal rather than ecological function.
Why does soil preparation matter so much in this method?
Urban soil is often compacted and low in organic matter. Without proper preparation, even correctly spaced native saplings struggle to establish roots, which is one of the most common reasons plantation projects fail in their first year.
How long does a Miyawaki garden need active maintenance?
Typically two to three years. After that period, a properly established Miyawaki forest becomes largely self-sustaining and needs minimal ongoing intervention.
Can the Miyawaki method be used for a small garden, not just a forest?
Yes. Miyawaki gardens have been created on plots as small as nine square metres, making the method usable for school campuses, residential plots, and other small urban spaces.
What happens if a step in the Miyawaki method is skipped?
Skipping any step — soil preparation, correct species selection, proper spacing, or maintenance — typically results in poor survival rates and a plantation that doesn't achieve the growth speed or density the method is known for.
See the Method Applied
Every step in this guide is exactly how we build our own projects, including our current work in Ahmedabad. You can adopt a single tree within it and follow its progress — geo-tagged location, a digital certificate, and three years of guaranteed care. Adopt a Tree Now →


